- From the menu, select "Print", and then select "Print Setup...". Set the properties for your printer and click the "OK" button.
- Click "Select Shape" button, "Open Shapes" window will display.
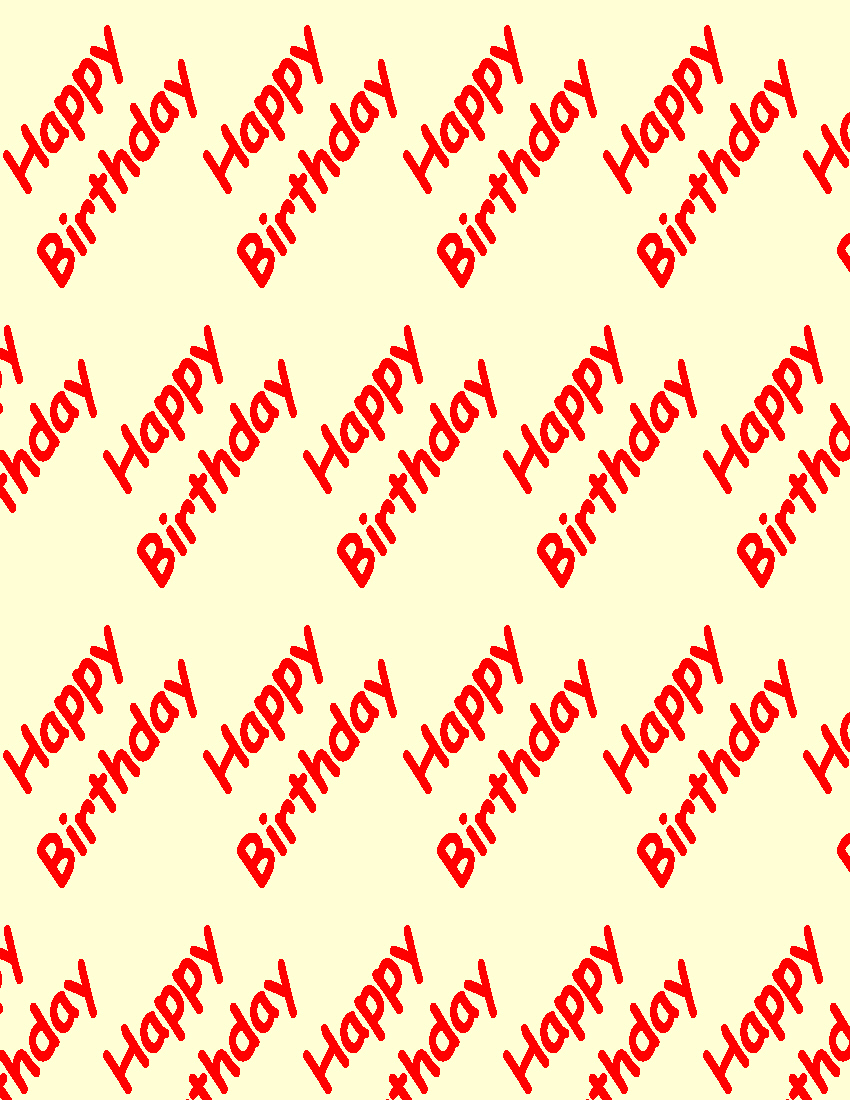
- Select the "Words" directory, and then select "happybirthday.bmp".
- Click "Open" to load the shape file.
- Click "Color to Fill Shapes" button, select your color, the sample used red.
- Click "Select Back Ground Color" button, select your background color, the sample selected a yellow, then used "Define Custom Colors" to make the cream.
- Uncheck the "Square Tile" checkbox so that the Happy Birthday can be stretched.
- Decide how large you want each tile with the witch to print, and click the up/down arrows in "Print Tile Size" Width to get the size desired. Then click the up/down arrows for the Height.
- Decide how large an area on the paper you want to print, and click the up/down arrows in "Print Area" to the size you want.
- Now you have a couple of choices:
- To save the page to print later, or to import into your graphics program, from the menu, select "File" and the select either the "Save As BitMap..." or the "Save As jpg..." and enter the name and the directory of where you want the page saved. Be sure to remember the name and the directory.
- To print the page to your printer, make sure the printer is turned on, and from the menu, select "Print" and then select "Print" from the pull down menu. The page will print.
- To exit the program, from the menu select "File" and then select "Exit" from the pull down menu.
Click on image for larger view.