February 2000
Popcorn Bucket Valentines
Designed By Judi Kauffman

The Popcorn Bucket template on the Red Castle FIT IT CD is one of the easiest
and most versatile templates I've ever seen. You can, of course, make
popcorn buckets and serve your favorite snacks when friends come over to
watch a movie. But the bucket shape is ideal for a gift basket as well, so
how about stamping up a few for your Valentines this year.
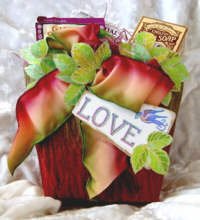
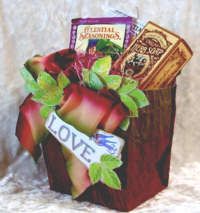
I've created two, a small one made of inexpensive uncoated white card stock
that took only minutes and a larger one made of elegant handmade paper
embellished with leaves and lush ribbon. It took less than an hour. Either
would make an excellent gift, party favor or table decoration.
Tips for beginners
- If this is the first time you've used FIT IT, make sure to read the General
Instructions before you begin. It's a good idea to practice folding and
assembling any new shape to make sure you understand where to score, fold and
glue. The sides of the Popcorn Bucket include small triangles that get
folded under (marked A,B,C, and D) and glued to the side flaps. Once you see
how they work, the bucket is assembled in about a minute!
- Cut out the shape and complete your rubber stamping while the project is
flat. Then score and fold. Add dimensional embellishments like cut-outs,
ribbon and buttons to your project after it is glued and assembled.
- Turn any lightweight paper into card stock by gluing the printed template to
the back. It will stiffen the paper. I use my Xyron with the adhesive
cartridge for almost all of my FIT IT projects -- the surface is smooth and
it saves a lot of time (no waiting for glue to dry, no bubbles or ripples).
It works well for lightweight card stock as well as specialty papers that
would be too light to use otherwise.
- If you are making small boxes and can print lightweight card stock in your
printer, that's a good choice as well. For larger projects you need to
either trace around the template, or glue it to the back.
MATERIALS
For Both Valentines
Red Castle FIT IT CD - Popcorn Bucket template
Card stock or paper in colors shown or as you prefer
"LOVE" stamp from For Ladies - Candlesticks, Hearts and Love Plate #42160
Bird with love note #SBM963
Glue
Ruler to cut and score against
Scoring tool
Craft knife, scissors with fine points
Optional: Xyron with adhesive cartridge
Colored pencils and/or markers
For Small Valentine
Berry cluster and tiny flower cut from Leaves Plate 3 #43030 (or, if you do
not cut your plates up, mask well, ink and stamp only those sections)
Ranger Big and Juicy rainbow dye ink pad - HAPPY BIRTHDAY
For Large Valentine
Wire-edge ombre ribbon (blended colors)
Tri-leaf cut from Leaves Plate 3 #43030 (or, if you do not cut your plates
up, mask well and ink only the leaves)
Embossing heat tool
Ranger Embossing Powder - CLEAR
Tsukineko Ultimate Metallic pigment ink pad - HONEYDEW
Gold marker or metallic ink pad
STEPS
Print Popcorn Bucket template in size desired (the small Valentine is 3"
high, the large one is 5".
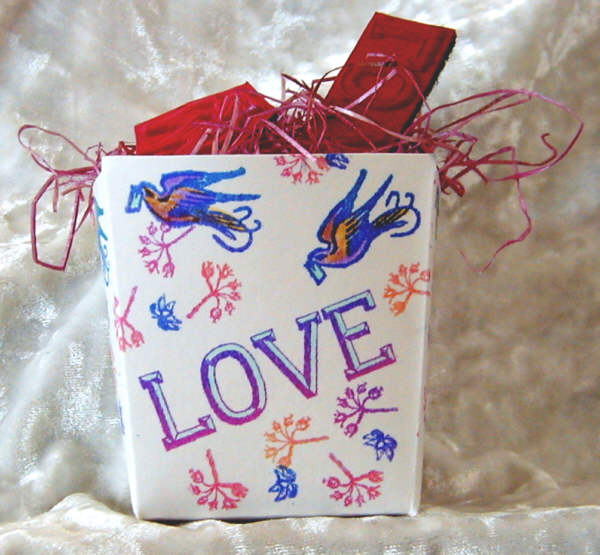
For Small Valentine

- Print template directly onto lightweight white uncoated card stock or glue it
to back of stock. I use the Xyron adhesive cartridge. Cut out, but do not
score or fold.
-
Stamp bird twice on front, twice on side and twice on back across top edge.
Stamp "LOVE" at an angle on front and back, berry cluster and tiny flower at
random inbetween. Use the blue/purple end of the Happy Birthday rainbow pad
for lettering, birds and flowers. Use the pink/orange end of the pad for
berry clusters.
-
Color birds and lettering with markers or pencils.
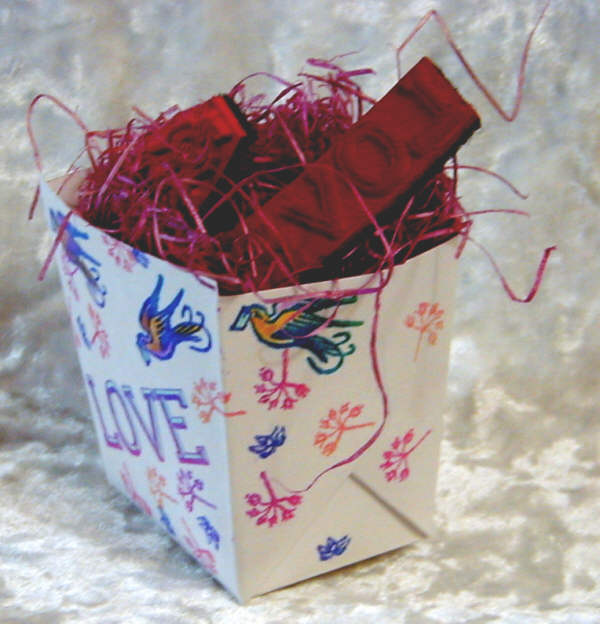
-
Score, fold and assemble Popcorn Bucket. Fill with excelsior or tissue,
rubber stamps or other small gifts, or candy.
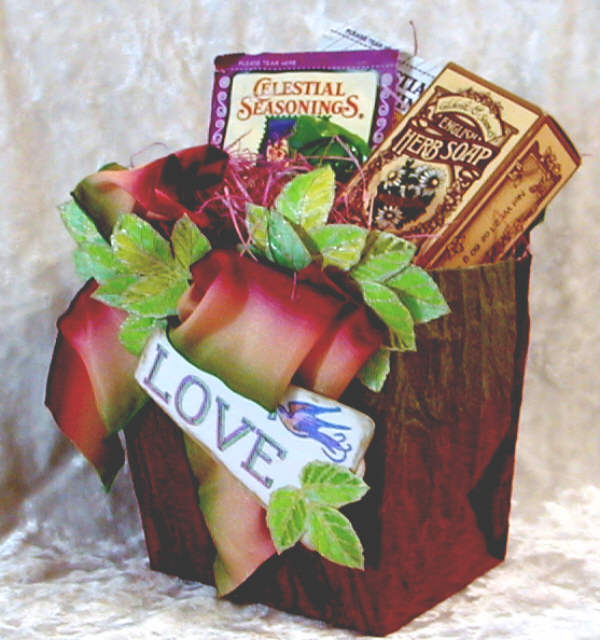
For Large Valentine
-
Print template onto lightweight card stock or computer paper. Glue to back
of handmade paper, fabric or gift wrap. As shown, Batik paper from Loose Ends,
www.looseends.com.
-
Cut out, score, fold and assemble Popcorn Bucket.
-
Stamp tri-leaves ten times using Ultimate Metallic Honeydew pigment ink (more
if you make a larger Valentine, fewer for a smaller one). Emboss with clear
embossing powder.
-
Color leaves with markers or pencils. Cut them out. Curl one leaf in each
tri-leaf cutout around a pencil to give it dimension. Glue all but one of
two of the tri-leaves across the top of the Popcorn Bucket as shown, leaving
an empty space for the bow. Option: add more leaves to the sides and back if
you want.
-
Glue a wire-edge ribbon bow at an angle as shown. Glue two tri-leaves in the
middle of the bow.
-
Make a small card using stamps and colors from small Valentine (see above).
Round the corners and "gild" the edges with marker or pigment ink. Glue a
tri-leaf to the corner. Glue card to bow.
-
Fill with excelsior or tissue and small gifts like soap, candy, teabags or
stamping supplies.
OPTIONS AND OTHER IDEAS:
- Choose colors and leaves that match the season or occasion -- fall colors
and leaves to make a harvest basket for Thanksgiving, holly and berries for
Christmas, daisies for summer, and so on.
- Have a stamping party. Prepare a template on card stock for each guest and
have them ready to decorate. Fill them with goodies to swap and take home.
- Decorate the buckets with collage and stickers as well as stamped images.
- To use this project with a class or scout troop, contact Red Castle for
permission to print a template for each person in the group.
- Rent a video or watch a football game with friends. Make Popcorn Buckets
for each person to fill with caramel corn, spicy popcorn, pretzels or other
treats.
Projects Index
All brand names and product names are trademarks, registered trademarks
or trade names of their respective holders.
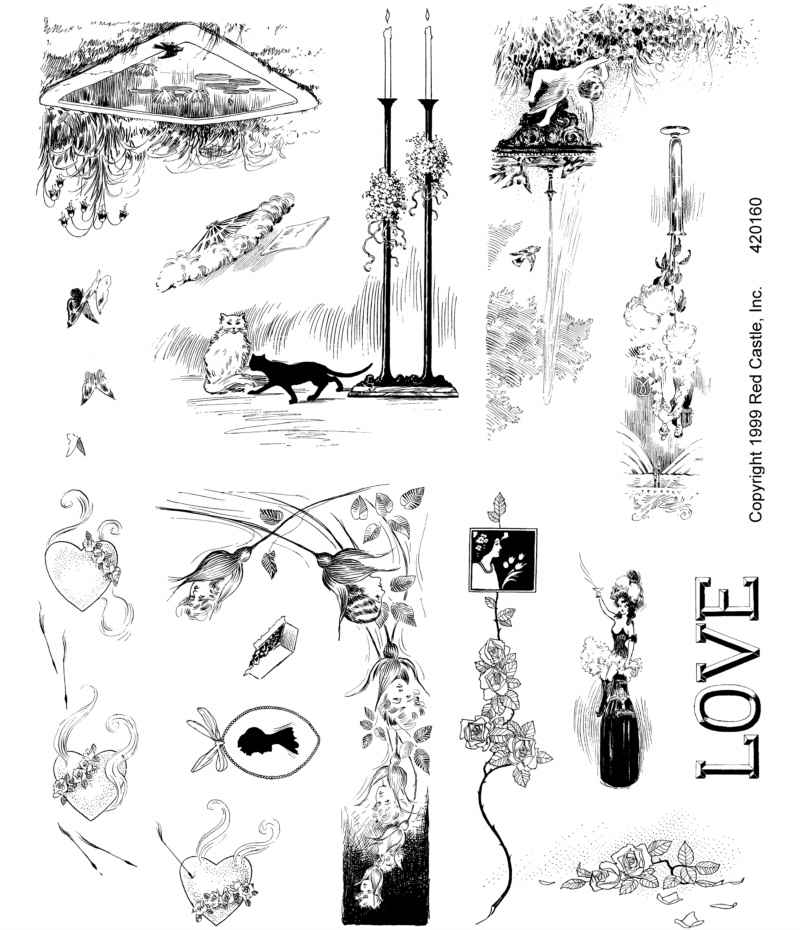 "LOVE" stamp from For Ladies - Candlesticks, Hearts and Love Plate #42160
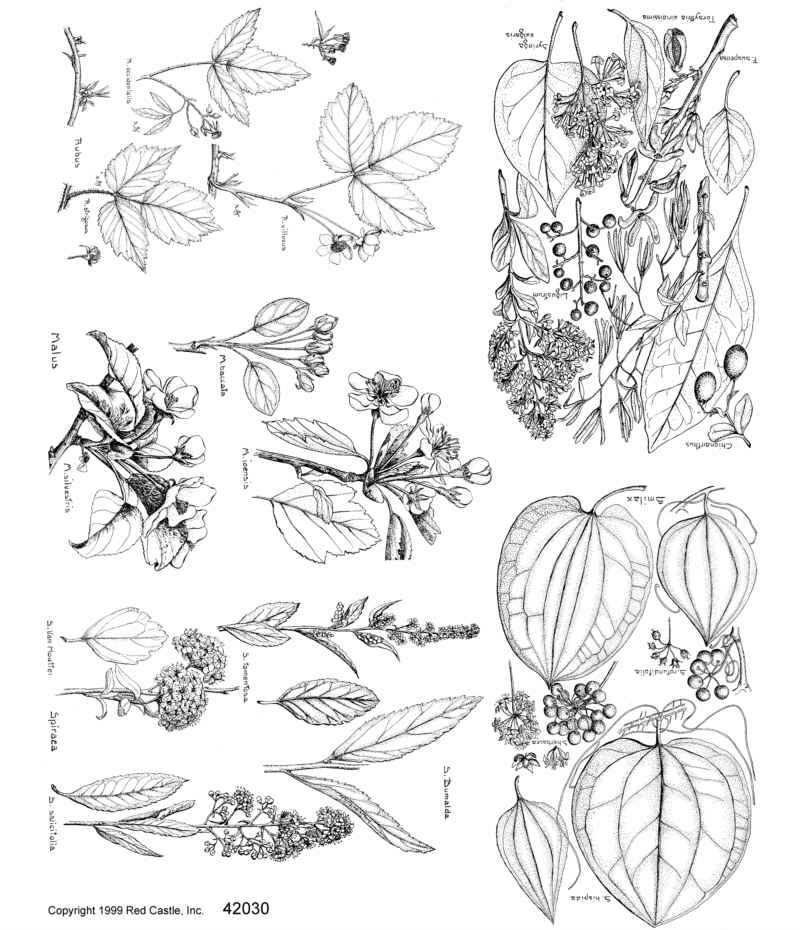 Leaves Plate 3 #43030 (see below)
 Red Castle FIT IT CD - Popcorn Bucket template