March 2000
Heart Flap Boxes for Spring
Designed By Judi Kauffman

If you're new to the FIT IT Template CD, you're in for a treat. The Heart
Flap box is a chameleon, changing from ring box to jumbo with a click of your
mouse. It's a perfect shape to decorate for any time of year, but I've
designed some "Spring" projects for you to use at Mother's Day or for
graduation gifts, or for no occasion at all! After all, a box can hold a
note as well as a present. In fact, the Heart Flap shape can be flat for an
envelope instead of having box sides.
When you change the size of the box, look at the left side of your screen for
measurements as well as looking at the template pattern. If you know you
want to make a box to fit a bar of soap or rubber stamp, measure it and then
size your template to fit.
The tiny boxes are a perfect way to use little fabric scraps. All of the
boxes can be used again and again if you use an adhesive-backed Velcroä dot
for a closure.
MATERIALS
For all boxes
FIT IT Template CD from Red Castle
Lightweight card stock or computer paper
Glue
Optional: Xyron with adhesive cartridge
Scoring tool
Scissors
Craft knife
Ruler to cut and score against
For floral boxes
Floral print fabric
Bits of lace, ribbon flowers, or other embellishments
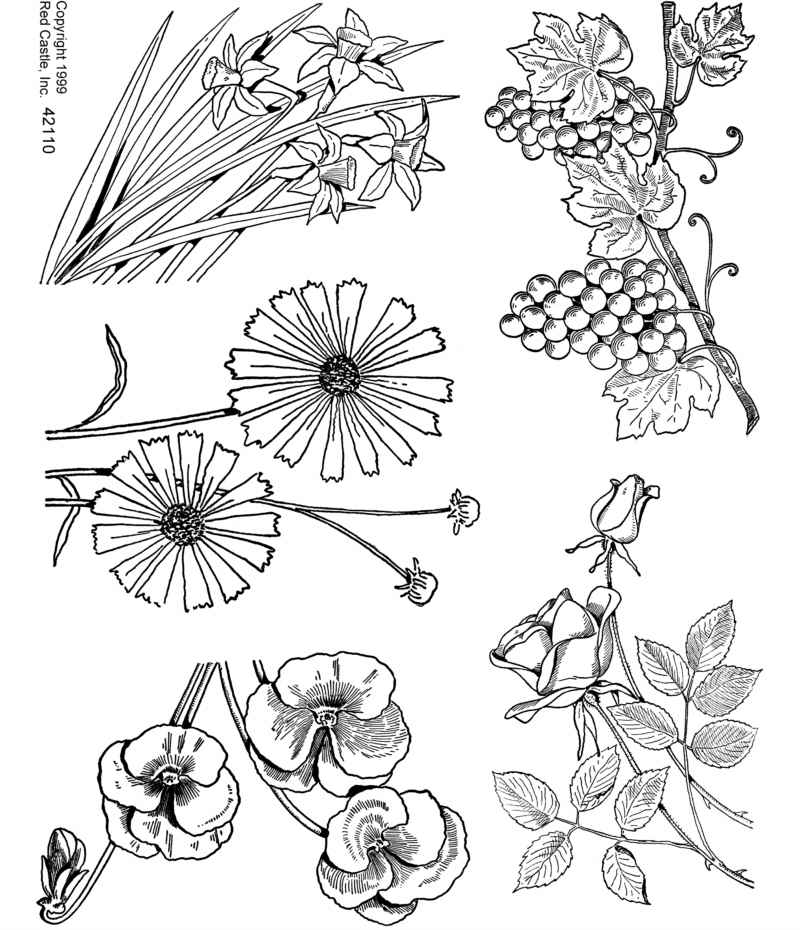
Pansy stamp from Flower Plate #42110 Roses, Daffodil, Pansy, Grapes and
Coreopsis
(daffodil was used in the January 2000 project)
Ranger Adirondack Embossing Powder -- EGGPLANT
Ranger EmbossIt ink pad -- CLEAR
Ranger Stickles in color to complement fabric
Embossing heat tool
Foam tape
Optional: 8-1/2 x 11 sheets of Fun-dation stabilizer from HTC (call
888-618-2555 to find a store or mail order source)
For briefcase-style box
Handmade paper with botanical inclusions (I chose yellow with leaves)
Raffia
For pansy pattern box
Pansy stamp from Flower Plate #42110 Roses, Daffodil, Pansy, Grapes and
Coreopsis
(daffodil was used in the January 2000 project)
Ranger Antiquities Embossing Powder - VERDIGRIS
Tsukineko Ultimate Metallics pigment ink pad - HONEYDEW
Embossing Heat Tool
Light green card stock, uncoated (or color desired)
Marker to match card stock (I used Marvy Le Plume II - Pastel set)
3/8" wire edged ribbon -- Gold (or pre-tied bow)
1/8" ribbon to match card stock (for gift tag)
STEPS
For floral boxes
-
Print Heart Flap Box template in size and shape desired. Glue template to
back of fabric (or use Xyron adhesive cartridge on the back of the template).
-
Cut, score, fold and assemble boxes. Brush edges of pansy box with Stickles
for a touch of glitter.
-
For ring box, decorate top with lace and ribbon flowers glued as shown or as
you prefer. For pansy box, stamp pansy and emboss with Eggplant embossing
powder. Color with markers, cut out and glue to front of box using foam tape.
-
Fabric boxes can be made using Fun-dation stabilizer instead of card stock as
the underlayer for a more durable project. Feed the pre-cut sheets through
your computer printer.
|

|
For briefcase-style box
-
Print template and glue to back of handmade paper. Option: Xyron with
adhesive cartridge.
-
Cut out, score and fold. Cut two pairs of slits in heart flap, at an angle
as shown.
-
Assemble box. Feed raffia through slits and glue to top section of front,
top, bottom and bottom front flap of box so it wraps around the box. Add a
small extra piece at each slit so there are two tails. Knot the ends of a
piece of raffia and glue in place as a decorative handle, or sew handles
through top of box, reinforcing with extra card stock on inside, if you want
a "real" handle (larger boxes require this step).
|

|
For pansy pattern box
-
Print Heart Flap Box template onto card stock if you can feed it through your
computer (weight and size will determine this), or print onto computer paper
and glue template to back of card stock. Option: Xyron with adhesive
cartridge.
-
Cut out box, but do not score or fold. Stamp an overall pattern with pansies
onto green background using Honeydew pigment ink. Stamp a small rectangle of
card stock for a gift tag if desired. Emboss with Verdegris embossing powder.
-
Color pansies and stems with marker. On uncoated stock a marker matching
that color stock will darken or tint the stock just slightly. If you prefer
a bolder look or more contrast, experiment with other markers on the scrap
stock and choose a different color.
-
Score, fold and assemble box. Glue bow and gift tag to lid.
|

|
OPTIONS AND OTHER IDEAS
- The Heart Flap Box template can be made into an envelope by decreasing the
depth till it's flat. Decorate a card to match.
- For an extra special gift, make a box about 1-1/2" deep and fill it with a
set of matching note cards and envelopes. Envelopes should be 1/2" smaller
than the box, cards should be 1/2" smaller than envelopes.
- The "briefcase" style box, enlarged, would be an excellent storage box for
desk or dresser (keep love letters or memorabilia inside).
- Elongate the box for a necktie or set of markers or pens.
All brand names and product names are trademarks, registered trademarks
or trade names of their respective holders.